Micro Precision Gear Utilizes Holroyd Grinder

Holroyd Precision, a division of the Precision Technologies Group, has recently completed a customer satisfaction survey with major customer Micro Precision Gear Technology Limited of Hemel Hempstead, Hertfordshire. Having supplied Micro Precision Gear Technology Limited with a GTG2 model gear and thread grinder some eight years ago, the Milnrow, Lancashire operation canvassed Micro Precision Gear Technology's Phil McIntyre, section leader, gear grinding, for feedback on living with the machine on a daily basis.
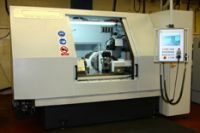
The GTG2 machine in question is used by Micro Precision Gear Technology Limited in the manufacture of worms, helical and spur gears while Holroyd is also currently working with the company to develop bespoke worm software for the machine. The machine is used to grind worms from 15 mm to 250 mm in diameter with a smallest gear of 0.6 mod right up to the largest of 4 mod. According to McIntyre, "The machine has been extremely reliable. It's incredibly accurate and will run all day for six days a week. Its flexibility is another major plus. And, just as importantly, it's also remarkably easy to use and programme with a new operator usually able to get the hang of things within just two weeks."
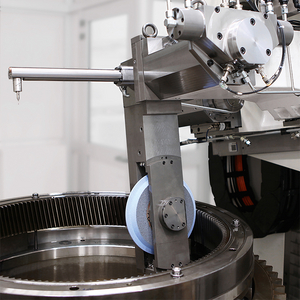
The Holroyd GTG2 is an extremely versatile, multi-purpose grinding system for the batch or volume production of precision spur and helical gears, worms, screws and rotors. Sophisticated yet simple to operate, the machine combines rigidity with high power for either CBN or conventional deep grinding operations with class-leading levels of accuracy and finish. Fast setups optimize productivity while the advanced and highly integrated user interface facilitates the production of a finished component from the initial design drawing. In addition to the production of all types of spur, helical and worm gears, the machine can also be configured for grinding ball-screws, small compressor rotors, internal gears and threads.
Typical applications include high-performance aerospace, automotive, precision motion, low noise and master gears. An on-board 3-D scanning probe maximises accuracy using profile correction feedback and improves productivity by removing the need for off-machine profile inspection.


