-
Inspection
- Analytical Inspection
- Artifacts
- CMMs
- Double-Flank Inspection
- Failure Analysis
- Gages
- Gear Inspection Machines
- Grinding Burn
- Lead Error
- Master Gears
- Measurement
- Measurement over Pins
- Metrology
- Non-destructive Testing (NDT)
- Optical Metrology
- Profile Error
- Quality
- Reverse Engineering
- Roll Testing
- Roughness
- Runout
- Single-Flank Testing
- Statistical Process Control (SPC)
- Surface Finish
- Surface Roughness
- Testing
- Traceability
- Transmission Error
- Vibration
- Wear
- X-Ray Diffraction
Analytical Inspection
Read MoreArtifacts
Blog Posts
Read More


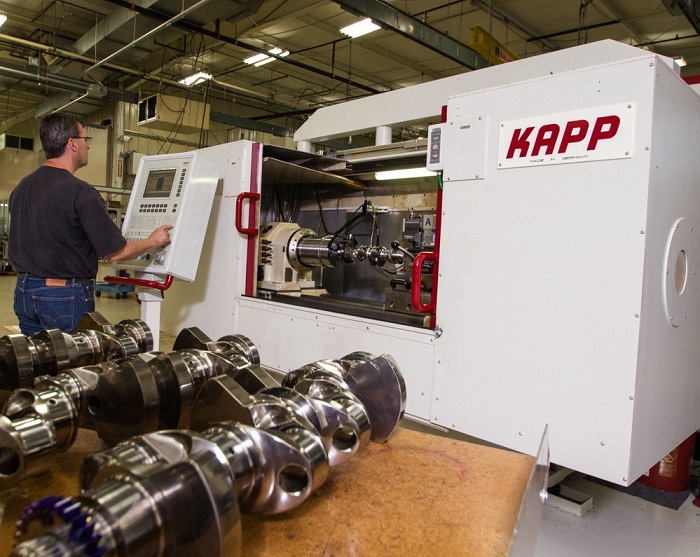
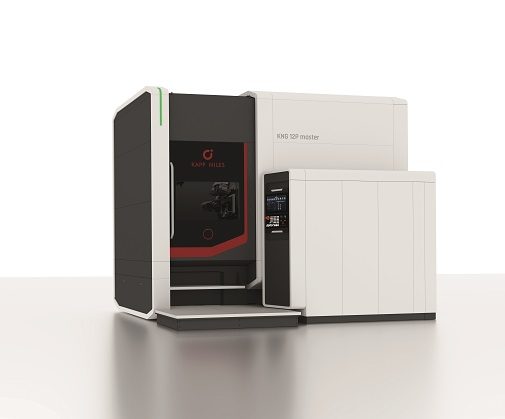





 Gleason’s new 300GMS nano Gear Metrology System is built for today’s unprecedented transmission noise challenges and tooth form quality requirements. 300GMS nano delivers sub-micron analysis of tooth surface roughness after polish grinding; applies Advanced Waviness Analysis tools to detect and mitigate critical noise behavior caused by hard-to-find tooth form irregularities.


