With the recent software release Zeiss Industrial Quality Solutions (Zeiss IQS) enhances its extensive software portfolio, introducing cutting-edge innovations in multiple software products to optimize inspection processes and streamline data handling capabilities.
Zahnradfertigung OTT GmbH & Co. KG was the first company to install the new fully automatic CNC-controlled P 152 precision measuring center from Klingelnberg in its ultra-modern machine park.
At the Control trade fair for quality assurance, Jenoptik offered a variety of automated measuring and inspection stations as well as new sensors and functions of the proven measurement technology for the target groups of automotive manufacturers and suppliers. Here are some highlights:
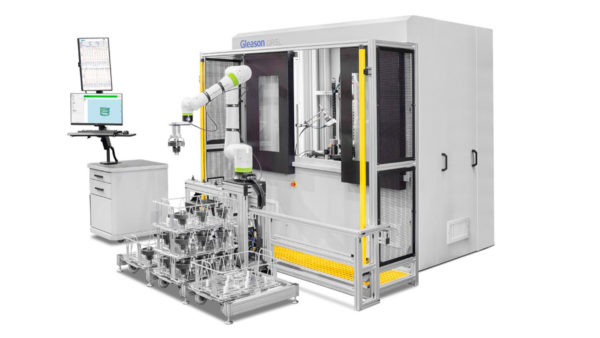
With the 175GMS nano, Gleason brings submicron-level inspection capabilities to smaller gears, helping ensure minimal noise, greater precision, and longer life
Complete inspection of gear surface finishes at the submicron level became a reality with the introduction of Gleason’s 300GMS nano, in 2022. The new system ushered in an exciting new era in gear inspection. For the first time, producers of EV transmission gears, and gears for other applications requiring very tight tolerances and low noise requirements, could quickly inspect surface finishes and perform extremely reliable noise analysis at submicron levels—benefits that were almost impossible to achieve just a few years ago.
Gaging evolves for precision, productivity, ergonomics and more
June 12, 2024
For precision measuring, skilled machinists, toolmakers, and inspectors must have accurate tools and gages, produced from quality materials, carefully manufactured, and rigidly inspected, to ensure lasting dependability. Gages have evolved throughout the years beginning with mechanical, then electronic models, and now convenient wireless electronic versions have come on the scene. Each type has an important place in today’s quality control and inspection processes.
The arrival of Gleason’s Hard Finishing Cell (HFC) in 2018 represented a paradigm shift in the way automotive transmission gears and gears for e-drives, could be produced in high volumes. Now, for the first time, 100 percent inspection of every gear, and every gear tooth was possible in-process, without impacting the high speeds at which these gears need to be hard finished. Identifying, and correcting for, conditions that create unacceptable noise behavior in these gears, on the fly, was finally a reality too.
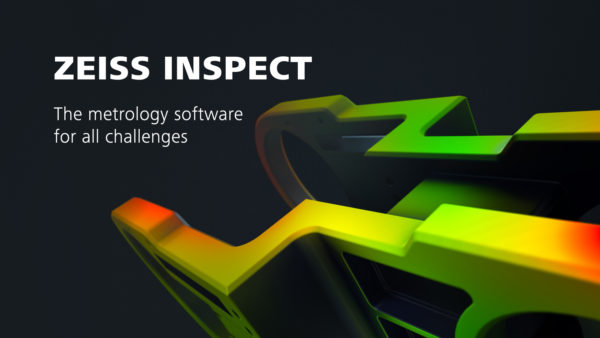
With the release of the new Zeiss Inspect 3D metrology software, Zeiss offers its Industrial Quality Solutions customers numerous new functions. Zeiss Inspect Optical 3D is the solution for the inspection and evaluation of 3D measurement data. With this release, data acquisition is further accelerated and evaluation functions are further improved. The new Autosurfacing app also automatically converts scan data into a high-precision CAD model.
Stock Drive Products/Sterling Instrument (SDP/SI), a Designatronics, Inc. company, completed and passed its recertification AS9100:D and ISO 9001:2015 quality system audit. The audit, conducted by Intertek over a 5-day period, certifies SDP/SI’s quality management system conforms to AS and ISO standards.
Forest City Gear has updated its technology infrastructure and policies in compliance with Level 2 Cybersecurity Maturity Model Certification (CMMC) 2.0. The CMMC program ensures the protection of federal contract information and controlled unclassified information for suppliers within the U.S. Department of Defense’s supply chain. Through self-assessments aligned with NIST SP 800.171, Forest City Gear policies have proven to meet the 110 practices required for CMMC 2.0 compliance.
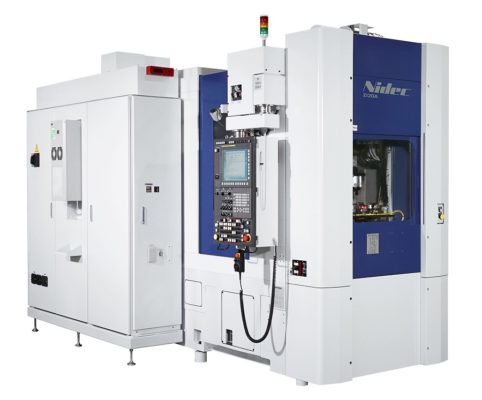
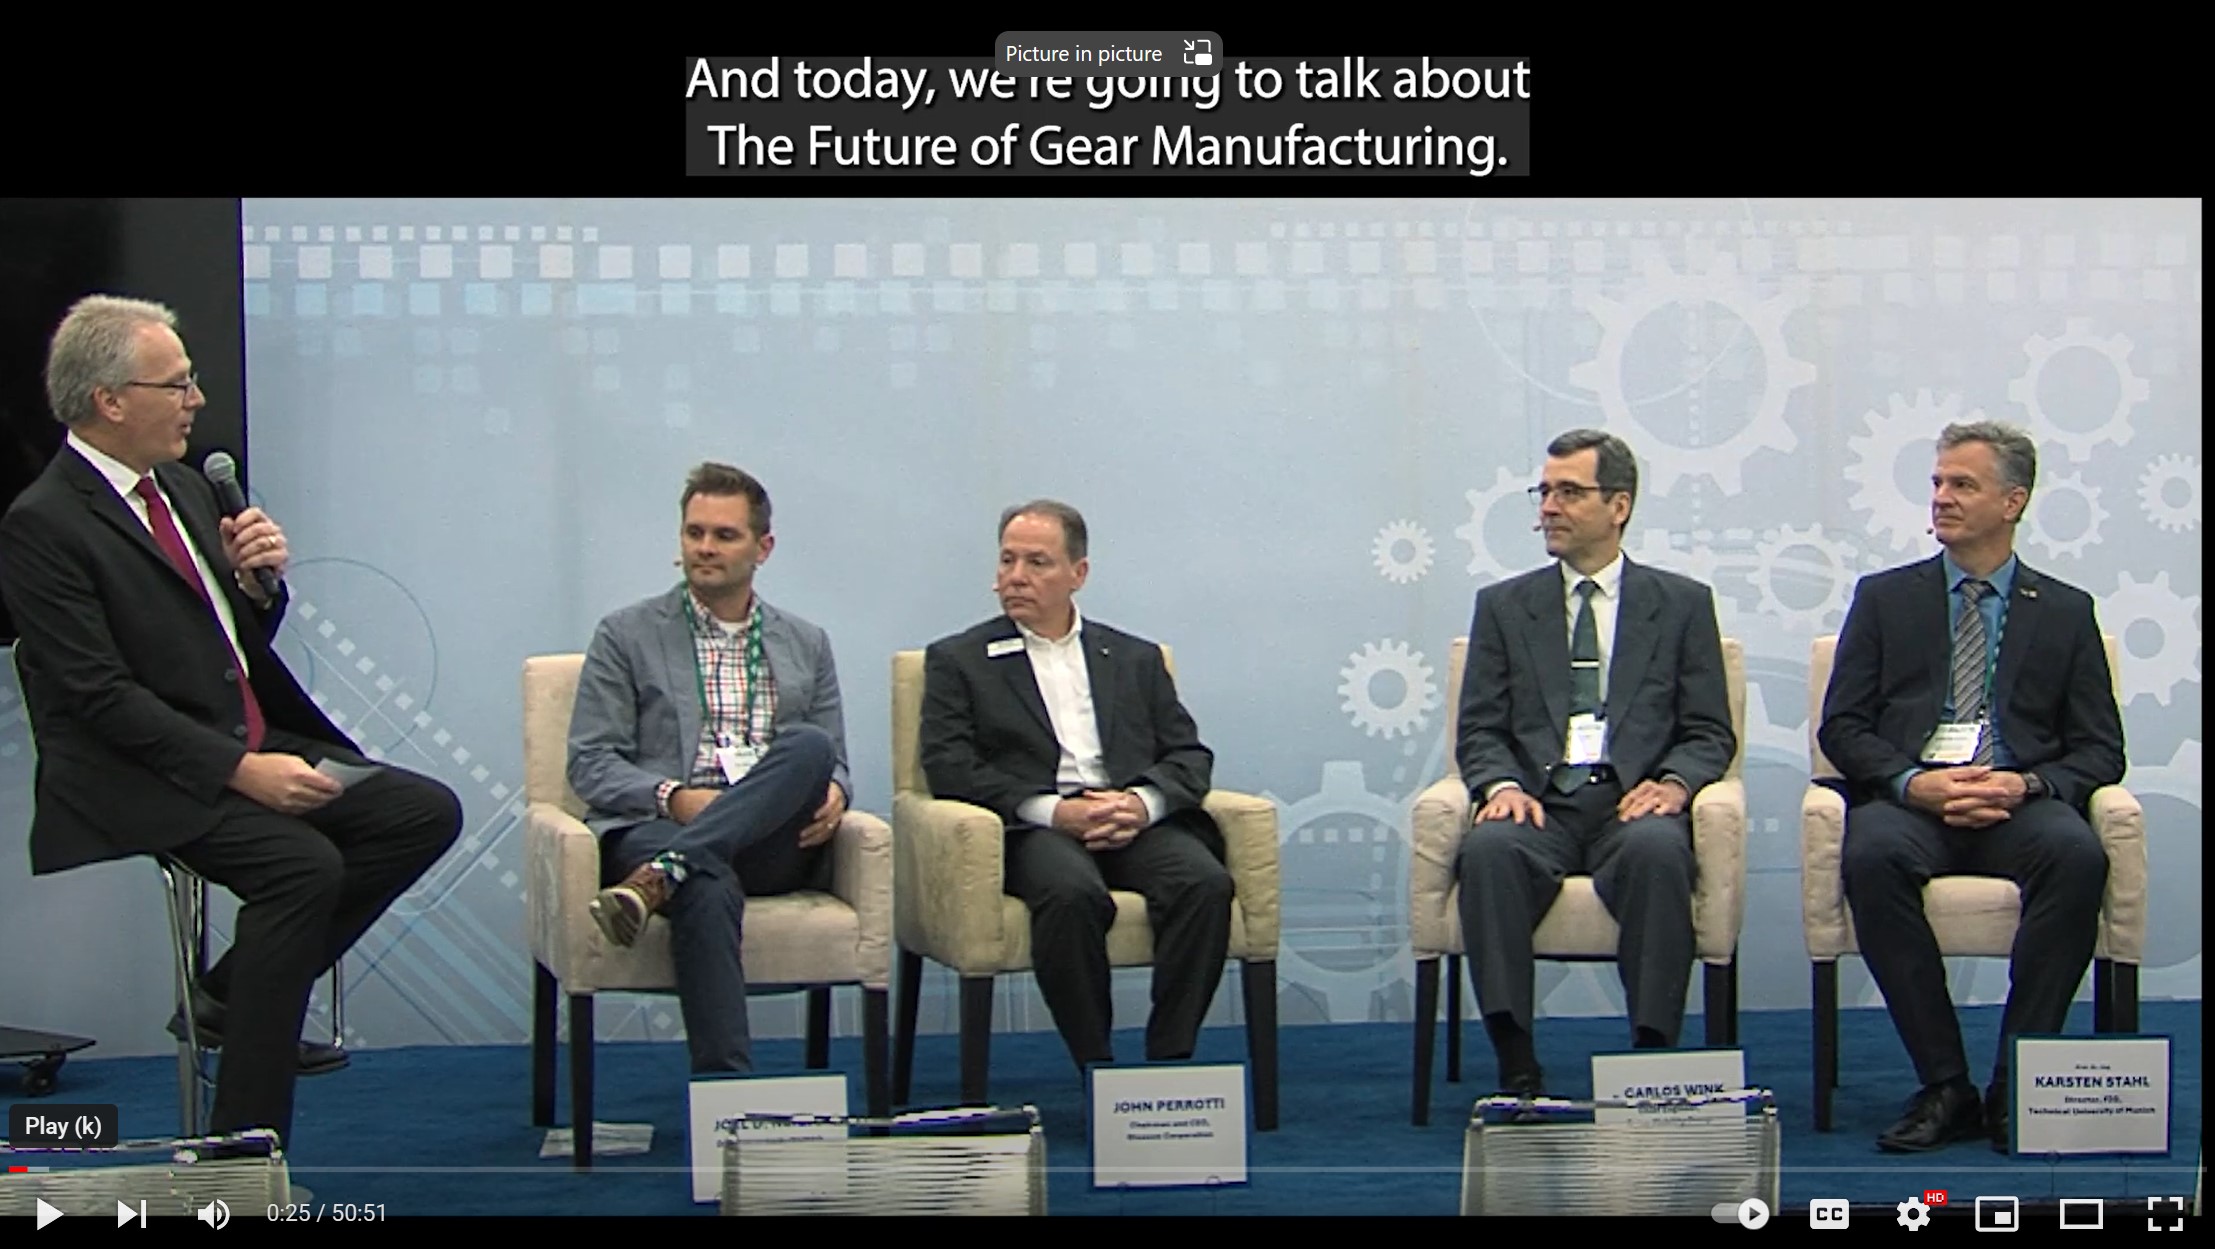
State of the Gear Industry Perspectives takes an in-depth look at the challenges and opportunities in gear manufacturing today and in the future. Our fourth installment online is an interview with Scott Knoy, vice president of sales at Nidec Machine Tool America.