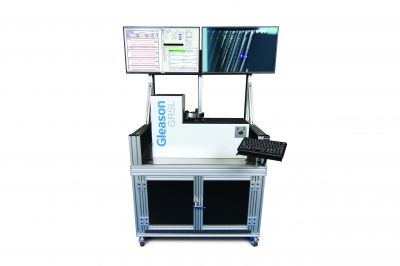
Gleason GRSL Sets Standard for Throughput for High-Speed, High-Volume Testing
The GRSL Gear Rolling System with Laser provides both double flank roll testing as well as analytical index and involute measurement on all teeth during the same inspection cycle in a matter of seconds. It made its debut during Gear Expo in Columbus.
This new technology is available in a manual, semi-automatic or fully automatic configuration depending on the needs of the customer. The index and involute measurements are analyzed using Gleason Metrology’s GAMATM gear analysis software which allows the operator to see common charting between the GMS analytical inspection machine and the GRSL gear rolling system. With GAMA, over fifty analysis packages are available for our customers with all major industry standards such as AGMA, DIN, ISO, etc., along with customer specific analysis requirements developed for industry in the GAMA platform.
This patent pending design measures external, cylindrical gears up to 250 mm in diameter and in a range of 0.4 to 7.2 module. The double monitor option provides a simple view of ongoing trends in the high speed inspection environment where one monitor can display results of several hundred parts inspected over time while the other can show real time results of the gear being inspected.
Additional highlights include: Composite testing and index and profile inspection are performed in the same test cycle. Inspection of all 31 teeth on a typical helical gear can be performed in under 10 seconds compared to 160 seconds on a conventional analytical machine. The workstation comes standard with a single 22” monitor with dual monitors and touchscreen also available.


