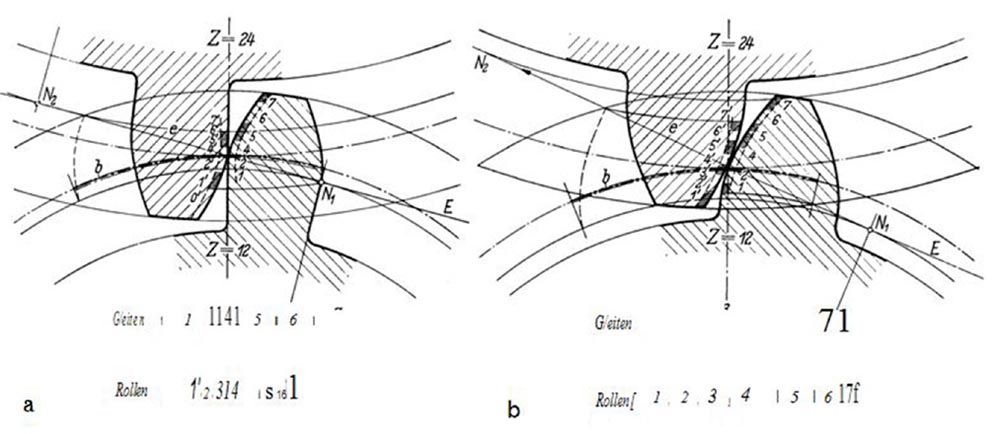
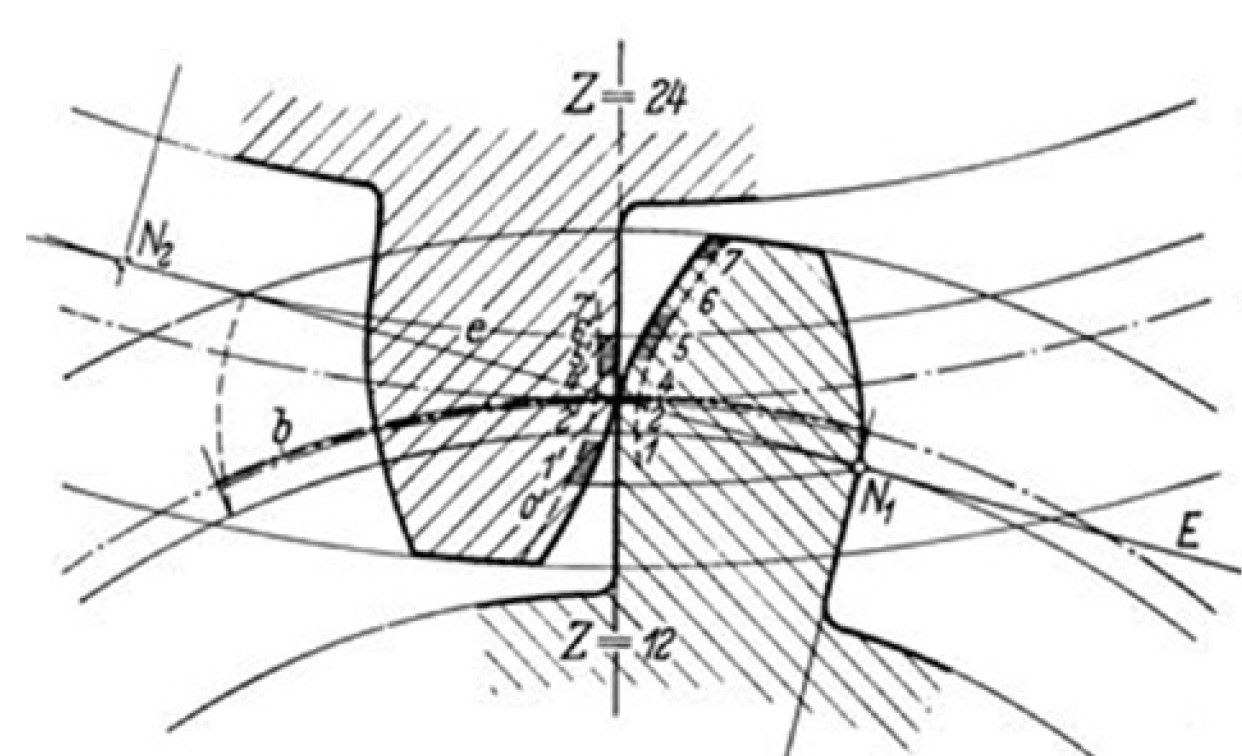
Henry Merritt (1899–1974) (Ref. 12) stated: “The artifice of displacing the generating rack had long been known and having been used to avoid undercutting otherwise present in small pinions, it was termed ‘correction for undercutting’ and later ‘correction.’ In B.S. 2519:1954 (Glossary of Terms and Definitions for Toothed Gearing) the artifice was re-named ‘addendum modification.’ But addenda may be modified in other ways, and the terms themselves are unwieldy and do not give convenient derivatives. The author, therefore, here uses the phrase ‘profile shift’ [borrowed from Professor Takashi Nakada].” See the later discussion of reference Ref. 17.
The German version of DIN 3992 (Ref. 13) has the title “Profilverschiebung bei Stirnraedern mit Aussenverzahnung,” (“Profile Shift for Cylindrical Gears with External Teeth”). However, the internet lists the title as “Addendum modification of external spur and helical gears.”
Allan Candee (1884–1971) (Ref. 14) discussed the details of undercut as follows: “When standard proportions of gear teeth were first adopted, the dedendum was made equal to the addendum plus clearance, for all numbers of teeth. In an involute gear with a small number of teeth, the space depth then extends below the base circle, and from there down the profile was customarily made straight and radial. This would result in interference with a gear having a large number of teeth. Later when generating methods of tooth cutting came into use, a fillet curve was produced by the generating motion, and in a pinion with too small a number of teeth some of the involute may be cut away above the base circle. It then became a practical problem to know how to determine the amount of contact lost when gears were dimensioned according to the standard rules. It was soon realized that by decreasing the dedendum in a pinion, the cutting away of the involute could be avoided, while the usual whole depth could be retained by increasing the addendum, standard generating could still be used. It has therefore long been the recommended practice to design pinions with “long addendums” so that undercut does not occur, and tables of recommended pinion dimensions have been included in American Standards for the past twenty-five years.” Note: In 2023, Candee’s past 25 years become the past 87 years.
Darle Dudley (1917–2003) (Ref. 15) used the terminology of long and short addendum gears and showed an example of an undercut pinion with 12 teeth and compared it with a 12-tooth pinion with a profile shift coefficient of x = 0.35 and no undercut. Furthermore, in addition to avoiding undercut, he discussed the many benefits of profile shift.
Wilfred Davis (Ref. 16) defined “addendum modification” (also known as “addendum correction,” “profile displacement,” or “rack shift”) as a variation from nominal dimensions for the addendum, dedendum, and reference circle tooth thickness employed in involute gearing. He explained further that “x” is the addendum modification coefficient, and the phrases “profile displacement,” “profile withdrawal,” “profile shift,” and “rack shift” are also used for this displacement. Davis provides equations in Data Sheet 15 for three options of tip circle diameters:
- Full-length teeth
- Standard working depth
- Standard tip-to-root clearance
Takashi Nakada (1908–2000) (Ref. 17) entitled his textbook “Involute Profile Shifted Gears.” Nakada acknowledged books by Earle Buckingham, Henry Merritt, and Professor Adalbert Shiebel. Buckingham did not use the phrase “profile shift,” Merritt claimed he borrowed the phrase “profile shift” from Professor Nadada, and Professor Schiebel used the term “Profilverschiebung” (“profile shift”).
Earle Buckingham (1887–1978) (Ref. 18) provided all the equations required for calculating the geometry of trochoids, tooth fillets, and undercut. However, he avoided using the nomenclature of profile shift. Buckingham is credited with the introduction of the involute function, which is needed for calculations of operating pressure angle and sum of the profile shift coefficients.
DIN 870 (Ref. 19) is entitled “Zahnräder, Profilverschiebung bei Evolventenverzahnung,” (“Gears, Profile Shift with Involute Gearing,”) DIN (1931).
Karl Kutzbach (1875–1942) (Ref. 20) reported on the state of gear manufacturing existing in 1925. Kutzman used the term “Profilverschiebung” (“profile shift”) and mentioned the phrase “tooth correction.” According to Linke (Ref. 2), Kutzman’s work formed the basis for the first edition of DIN 870 published in 1931.
Adalbert Schiebel (1872–1931) (Ref. 21) wrote the first edition of Zahnrader in 1921. However, only the fourth edition was currently available, which was written by Professor W. Lindner in 1957. Therefore, since the fourth edition was completely revised, it is not possible to determine whether Schiebel used the phrase “profile shift.” To explain further, the foreword to the fourth edition is quoted below:
After the death of Professor Schiebel in the year 1931, Professor Königer from the University Giessen revised the second volume of the third Edition in 1934.
The now available revision of volume II in the fourth edition includes the developments of the past 20 years as well as the standards and nomenclature which were established during this time. The calculation of helical gears was conducted in close orientation to Volume I. In the new edition, it was considered, that due to the inaccuracies in manufacturing, the conditions for strictly mathematical calculations are only limited. The effort for the derivation of the equations of the statical indeterminate systems is therefore in no relation to the obtainable results. It appears therefore acceptable for the practical use to present simplifications which capture the obvious relationships.
For spiral bevel gears, the methods which are established today are presented according to their importance. This also applied for the bevel gears with offset, which are widely applied as hypoid gears in automobiles.
The graphical methods from Schiebel, for the analysis of worm gear transmissions where preserved, yet, in order to make it easier for the reader, the attempt was made to develop clearer graphics. A section about hollow surface worms was added.
A new addition is a short chapter about the basics of the measuring methods for gears.
Transmission examples with different gear types were added in the last Chapter. I am thanking especially the companies who made examples of their latest transmissions available.
Also in this edition, the tables with calculation examples are in the addendum in order to facilitate the use of this book for the practical gear engineer.
—W. Lindner, Hagen, March of 1957
Max Folmer (1873–1941) (Ref. 22) is credited with introducing the term “V-gear” (profile-shifted gears on the reference center distance, i.e., Σx = 0) in 1919. His gear research between 1917 and 1919 was of great importance for the theory of gearing. Quoting from the textbook by Seherr-Thoss (Ref. 3): “Folmer belongs next to Euler (1762), Kaestner (1781), V. Langsdorf (1802), Wiebe (1861), Reuleaux (1865), Hartmann (1893), Stribeck (1894) and Lasche (1899) to the great fathers of scientific gear theory in Germany, because he added an important building block to our gear technology, on which the German gear wheel standardization could also be based.”
Max Maag (1883–1960) (Ref. 23) presented a lecture in Winterthur in 1917 where he described the “MAAG Tooth System,” which he developed in 1908. Maag expressly avoided using the phrase “profile shift” most likely because MAAG commercial interests were best served by a proprietary system. He admitted that the theory behind the MAAG Tooth System was known for a long time before Maag perfected the MAAG Tooth System, but there was no manufacturing process to implement it until MAAG developed a rack cutter with sufficient precision. In 1908, Max Maag visited Sam Sunderland in England to view his newly invented rack-type gear planer. Maag immediately recognized that the Sunderland planer was based on the correct principle. Maag bought two Sunderland planers, but soon realized the machines could not produce gears that were accurate enough. Therefore, after acquiring the patents, Maag set about completely overhauling the machine to improve its capability to achieve the highest accuracy possible. In 1910, Maag opened a small workshop to produce the first gears according to the MAAG Tooth System. In 1912 he obtained a patent for a “Procedure for the production of involute gearing of any pitch and pressure angle.” The first four MAAG planing machines were shipped in 1913. This was followed by the development of the first MAAG grinding machine that followed the generating process using two plate-shaped grinding wheels, the active edges of which represented the flanks of an ideal rack tooth. In 1916, he founded the MAAG Gear Wheel Company in Zurich. Max Maag, presented the lecture: “The MAAG gears and their importance for the machine industry,” held on April 20, 1917, at the Winterthur technical association.”
In the lecture, Maag described the MAAG Tooth System and explained its advantages presented in Figure 1.
The teeth according to the left side of Figure 1, which Maag called “normal teeth,” are made by a milling cutter, whereas the right image shows teeth made according to MAAG’s method.
 Figure 1—Teeth form cut by a milling cutter (left) and teeth generated by a rack cutter (right).
The most obvious difference lies in the different tooth thicknesses. In the case of normal gearing, the tooth thickness at the pitch circle is always equal to half the pitch. However, since the involute root lengths are very close to the pitch circles and the root profile is inside the base circles and runs radially, the tooth thickness in the root circles, i.e., at the steepest point of the highest stress, is always the smallest and even smaller on the pinion tooth that is subjected to the most frequent stress. The right of Figure 1 shows that the conditions are much more favorable in that the tooth thickness is greatest at the root and is somewhat larger on the pinion tooth than on the wheel tooth. The shape of the teeth offers the greatest possible resistance to fracture.
Because the root profiles on the left in Figure 1 are formed almost entirely by the radial extensions, they have no value for the transmission of motion. In addition, a large portion at the top of the wheel tooth is completely useless since it makes no contact on the short portion of the root profile of the pinion tooth. When the teeth engage, only very short portions of the profile make contact, which are correspondingly heavily stressed. In contrast to this, the image on the right in Figure 1 shows the active profiles of the MAAG teeth are very long and reach from the tip to near the root circles. Almost the entire profile takes part in the transmission of movement, so that the contact is distributed over much larger portions than with the normal teeth shown on the left image in Figure 1. Because of the large differences in length of the profiles that work together, this is mainly sliding in the case of normal gearing, whereas in the more balanced conditions in the case of MAAG gearing it is predominantly rolling. This is the reason for the significantly lower and equal slide to roll ratios, more moderate wear, and better efficiency of the MAAG gearing.
Finally, the lower profile curvature is less on the MAAG gears, which have approximately twice as large profile radii as those of normal teeth, which means that the resulting lower contact stress allows far higher loads on the gear teeth. These fundamental differences have been achieved by the simple means of appropriately selecting the outside diameter and the pressure angle. Theoretically, this was of course known for a long time, but in practice it was only made possible by using the advantages offered by MAAG’s manufacturing process.
Max Maag remained the managing director of MAAG until he retired in 1927.
Summary
Although the theory and practice of profile-shifted gears was known as early as Oskar Lasche’s work in 1889, it is not likely that the phrase “profile shift” was known. Therefore, because of the importance of Folmer’s contributions, I believe it is fair to credit him with introducing the phrase “’profile shift’ in 1919.”
Conclusions
The theory of profile shift was developed in the last quarter of the 19th century.
Oskar Lasche empirically proved the advantages of profile shift in 1889.
Max Maag developed the “MAAG Tooth System” for profile-shifted gears in 1908, and manufactured rack-shaped, carburized, hardened, and ground gears of high accuracy in 1915.
Max Folmer probably originated the phrase “profile shift” in 1919.
References
- ISO 21771-1, “Gears-Cylindrical Involute Gears and Gear Pairs- Concepts and Geometry,” (Draft 2022).
- Heinz Linke, Cylindrical Gears-Calculation-Materials-Manufacturing, Carl Hanser Verlag, Munich (2016).
- Seherr-Thoss, H.-Chr. Graf v., “Die Entwicklung der Zahnrad-Technik,” (“The Development of Gear Technology,”), Springer Verlag, Berlin (1965).
- AGMA 913-A98, “Method for Specifying the Geometry of Spur and Helical Gears,” AGMA (1998).
- Donald McVittie, “The European Rack Shift Coefficient “X” for Americans,” Gear Technology, 10 (4), July/August, pp. 34–36 (1993).
- AGMA 901-A92, “A Rational Procedure for the Preliminary Design of Minimum Volume Gears,” AGMA (1992).
- MAAG, Gear Book, MAAG (1990).
- John Colbourne, The Geometry of Involute Gears, Springer (1987).
- Donald McVittie, “Describing Nonstandard Gears- An Alternative to the Rack Shift Coefficient,” AGMA Paper No. 86FTM1, AGMA (1986).
- ISO/TR 4467, “Addendum Modification of the Teeth of Cylindrical Gears for Speed-Reducing and Speed-Increasing Gear Pairs,” ISO (1982).
- Tofa Khiralla, On the Geometry of External Involute Spur Gears, Khiralla (1976).
- Henry Merritt, Gear Engineering, Pitman, London (1971).
- DIN 3992, Profilverschiebung bei Stirnraedern mit Aussenverzahnung, (Profile Shift for Cylindrical Gears with External Teeth), DIN (1964).
- Allan Candee, “Introduction to the Kinematic Geometry of Gear Teeth,” Chilton Co. (1961).
- Darle Dudley, Practical Gear Design, McGraw-Hill (1954).
- Wilfred Davis, Gears for Small Mechanisms, N.A.G Press, London (1953).
- Takashi Nakada, Involute Profile Shifted Gears, Tokyo Institute of Technology, (1952).
- Earle Buckingham, Analytical Mechanics of Gears, Dover (1949).
- DIN 870, “Zahnräder, Profilverschiebung bei Evolventenverzahnung” (“Gears, Profile Shift with Involute Gearing”), DIN (1931).
- Karl Kutzbach, Grundlagen und neuere Fortschritte der Zahnrad-Erzeugung ; nebst 2 Anhängen: Begriffe und Bezeichnungen für Stirn- und Kegelräder, Die Benutzung der Evolentenverzahnung für kleine Zähnezahlen (Zahnkorrektur), (Fundamentals and recent advances in gear production; along with 2 appendices: terms and designations for spur and bevel gears, the use of involute gearing for small numbers of teeth [tooth correction]) Berlin, VDI-Verlag (1925).
- Adalbert Schiebel, Zahnrader, (Gears), First edition (1921), Fourth edition, completely revised edition by Dr. W. Lindner, Springer Verlag, Berlin (1957).
- Max Folmer, Ein neues Rechenverfahren fur Evolventen Stirnrader Getriebe, (A New Calculation Method for Involute Spur Gears), Betrieb, 1919.
- Max Maag, “Die Maag-Zahnrader und ihre Bedeutung fur die Maschinen-Industrie, Vortrag von Ing. MAX MAAG, gehalten am 20. April 1917 im technischen Verein Winterthur,” (“The Maag gears and their importance for the machine industry, lecture by Ing. MAX MAAG, held on April 20, 1917, at the Winterthur technical association”).


