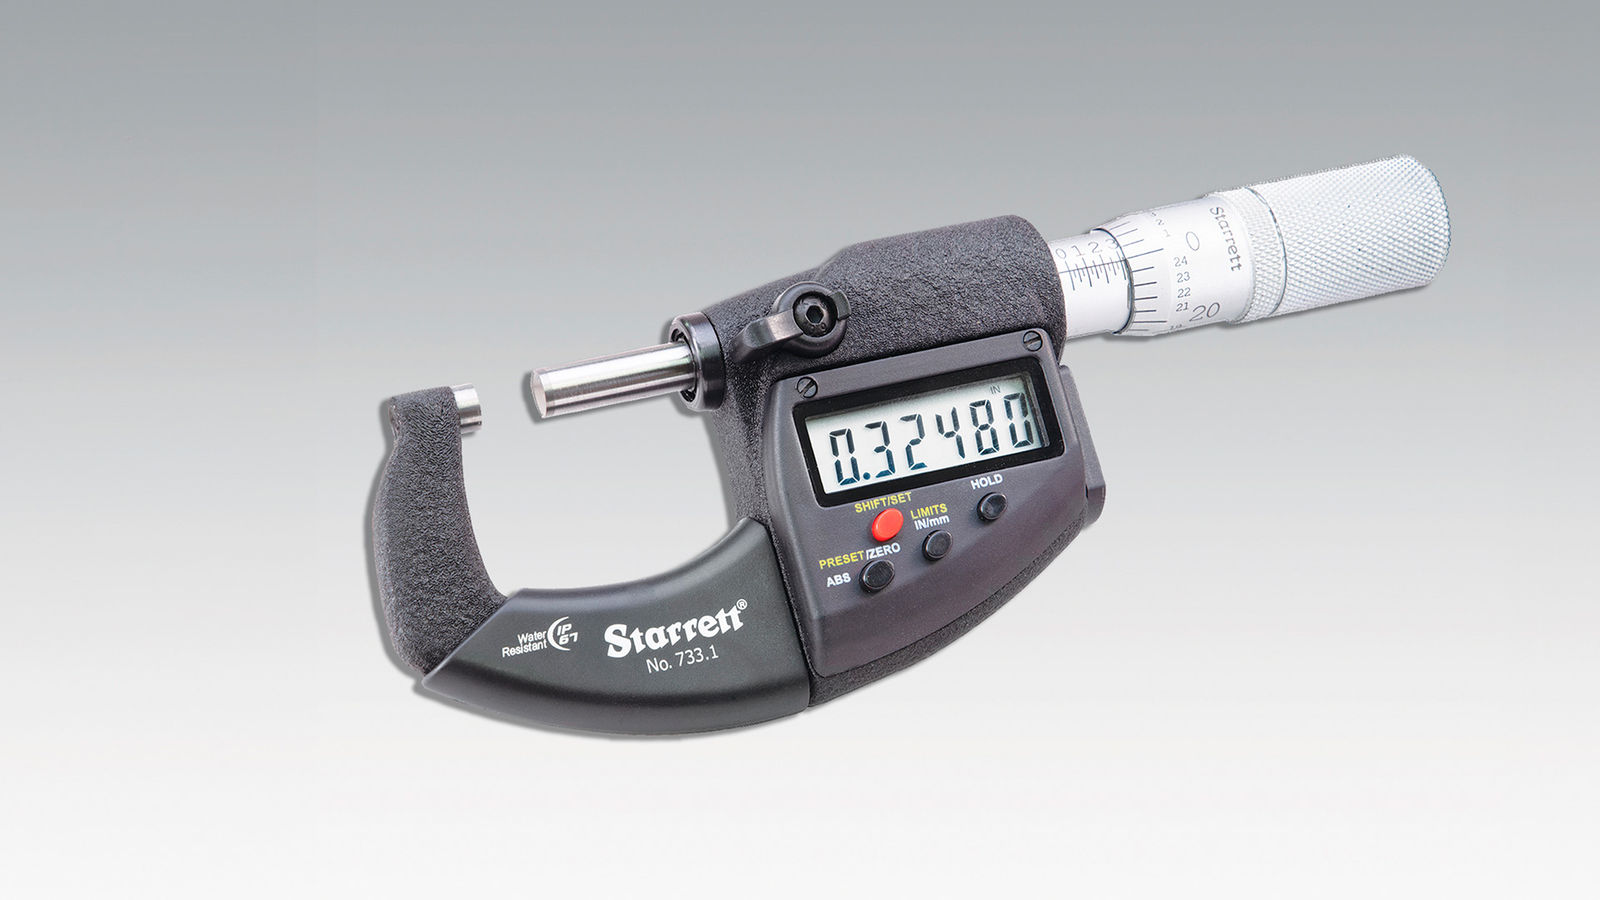
Relatively recently, wireless precision gages were introduced. Key benefits of using wireless gages including using them as a gage only or within an advanced data collection system are as follows:
- The need for bulky and cumbersome hardware such as backpacks and cables which can be safety hazards is eliminated. Also, by eliminating backpacks and cables, there is less equipment to purchase, so startup costs are decreased, and related maintenance requirements are reduced within the manufacturer’s shop tool calibration program.
- Collecting and transmitting measurement data is faster and less error-prone, facilitated simply by measuring and pressing a button to send the data to a mobile phone, tablet, or PC. In this way, operator subjectivity and recording measurement errors are removed, and time is saved when not manually transcribing data. Wireless provides speed, convenience, and ease of collecting and storing data.
- Wireless precision measuring tools are engineered for efficient data collection for a wide range of end uses. Whether it be for International Organization for Standardization (ISO), government, aerospace, or medical requirements, or for smaller shops, the need for accurate data is crucial for traceability to demonstrate qualified parts or to trace back any manufacturing errors. Accurate measurement data provides assurance for the end user and insurance for the manufacturer.
- By using wireless tools and an advanced data collection software system, the data can be efficiently integrated in ERP/ MRP programs. Also, wireless gages promote a cleaner work environment by removing the need for a log journal and pens/pencils, in step with lean manufacturing.
- Quality control is the last step when producing manufactured parts, so if a “bad part” slips by, problems can result in the assembly of the final product or the use of the part in the final product. Using wireless precision gages, inspectors can measure with confidence in order to qualify the part. With the simple push of a button, the measurement data is stored for future analysis or for history purposes. The time and money saved by going wireless and implementing a data collection system is incomparable. Online form-based digital calculators are available that can demonstrate this.
Refining Gage Design
Gage design is continually being enhanced and refined. The first gages, designed by pencil and paper, were bulky and cumbersome featuring crude heavy steel construction with rough edges. These initial gages earned low scores for operator comfort. Over time, gage design significantly improved for fit, size and maneuverability. Using advanced CAD programs with 3D models, gage designs are now generated faster with high accuracy. Improvements keep the operator experience as a top priority, and today’s gages are constructed with honeycomb aluminum and rounded contours, making them lightweight and easy-to-hold. One person can use a gage repetitively, compared to earlier times when two people might have needed to complete the same operation due to fatigue resulting from holding and maneuvering the gage.


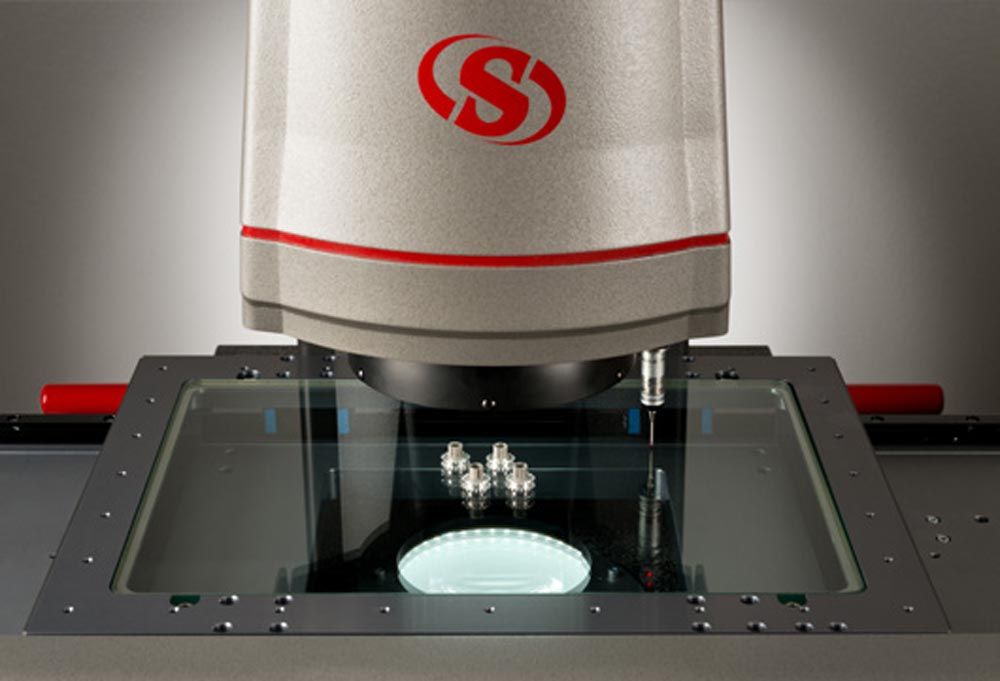
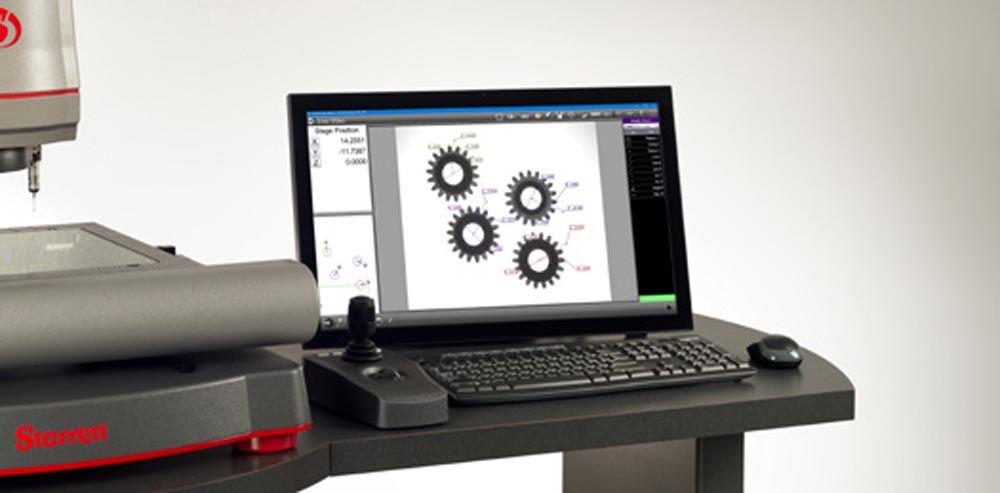
Starrett AVR-FOV multisensor vision system offers micron level accuracy across a wide range of gear sizes.
Special Custom Gages
Even with an extremely broad range of standard precision gages available, whether mechanical, electronic or wireless, some applications require measurements that cannot be taken with a standard gage. So, for these instances unique gages can be designed and manufactured to order. In fact, as gaging technology has advanced so has all tooling and machinery—all which have made it possible to manufacture special gages. The latest advanced gages and tooling are being utilized to manufacture custom gages. For over 50 years, Starrett has provided special gaging solutions to industries including energy, aerospace, automotive, food packaging, high-technology plastics, medical components and to NASA and over government agencies.
The Case for Multisensor Metrology Technology forGear Parts
Multisensor technology, including vision and touch probe capability, is also a key consideration for fulfilling gear measurement and inspection needs. Having fast, reliable data acquisition in the process is important. The more complex the gear, the higher the demands are for inspection and the more important efficiency becomes.
Providing exceptional speed and efficiency, a multisensor measurement system can easily increase QC throughput by performing multiple processes on a single machine, while maintaining accuracy. For greater productivity and accuracy, more of the gear can be viewed in every image on the latest multisensor vision systems such as the Starrett AVR-FOV featuring a 0.14 magnification lens, large field-of-view of 2.36" x 1.90" (60 mm x 48 mm).and automatic part recognition. Due to “super image” technology, which allows multiple images to be stitched together to form one larger image, together with the system’s touch probe technology, the AVR-FOV can accurately inspect a wide range of applications including large, complex and multiple small gears and parts.
The AVR-FOV automated part programs deliver accurate results to the micron level in a matter of seconds with “Go/ No-Go” tolerance zones, and data are provided in one easy-to-interpret report. Video edge detection along with touch probe capability enables measurements to be taken of discreet points along a part’s profile, producing accurate profile and pitch inspection results across a wide range of gear sizes. Ensuring that gear production is reliable and consistent protects manufacturers from several issues, including excess noise, load and tooth-to-tooth challenges, as well as premature gear wear or failure.
Also, the Starrett AVR-FOV multisensor vision system is equipped with M3 software from MetLogix which speeds inspection throughput due to features such as auto part recognition. A user can create a part measurement program that comprises the desired features of a part for inspection, which can automatically be saved in the system or to a network. Gear manufacturers can use the line, radius, and circle annotation in the software to create a part inspection program for an individual gear tooth profile or an entire gear.


